Making a background to complement the papers
I love to make colored background on white cardstock to give my pages a little more texture and color and I will show you a few steps of my creative process.
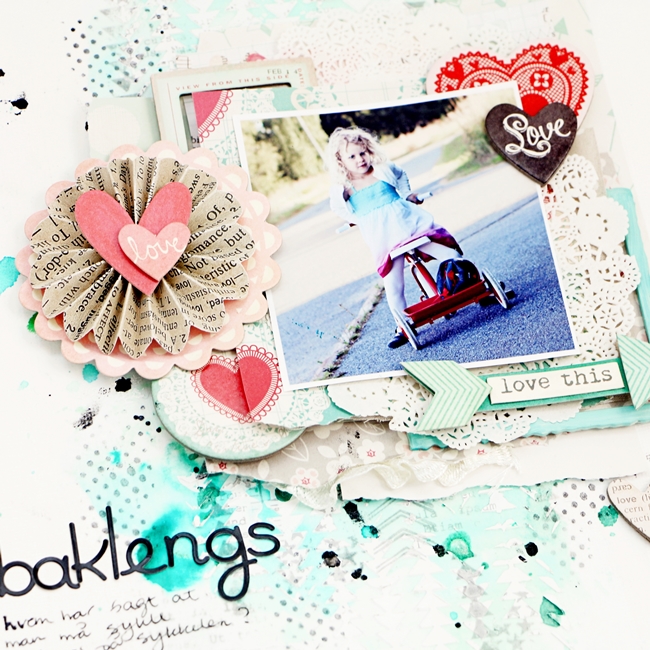
First finished layout

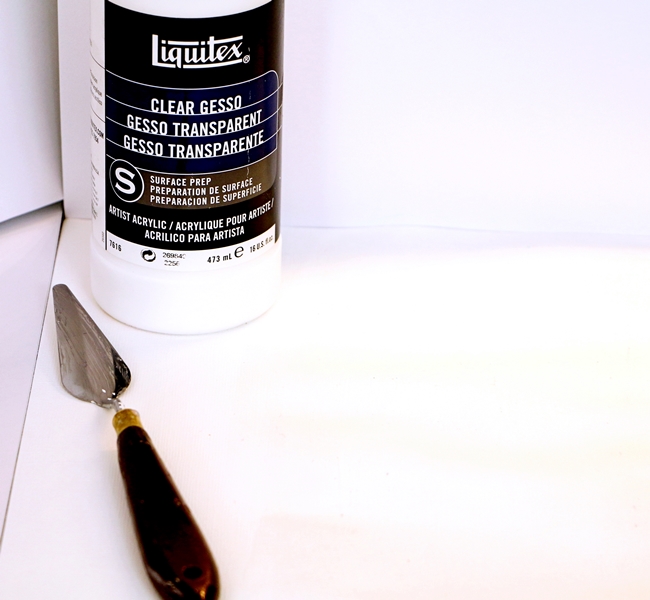
I start up with white cardstock and some clear gesso. You might ask why clear gesso and not just regular white gesso and the answer is that the white gesso looks a little yellow on white cardstock and that the clear gesso absorbs the colors of mist more than it deflects it like with white gesso. While gesso gesso feels kind of smooth on you page, the clear gesso feels much rougher.

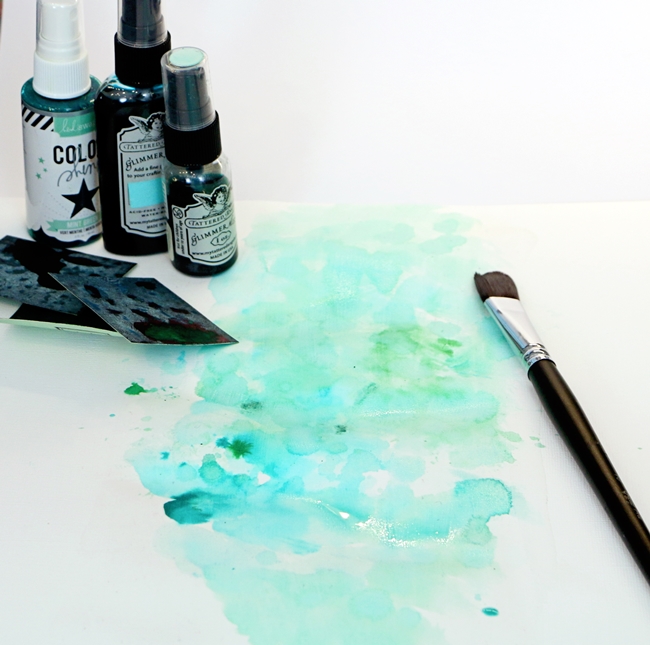
Don't worry that your page gets a little wobbly by the gesso, water and mist, think more about the fun you have playing with different techniques instead. I mixed mist with water and water with Peerless Transparent Watercolors - a paper with colors together with a brush. Use paper or babywipe to remove some excess color or water and to get different shades of the same color. Drop some mist and you will see the mist spread like when water freezes.

Spray some water to get more shades of color. (A fun thing here is to use salt - so feel free to try different things to get the mix of shades)

After the first layers of colors dried I dropped more mists on the page. Then I used a stencils and smeared heavy gesso on to give it some texture and soften the blue/green tones. Then I stamped with a grey stamp pad all over the colored areas.
Then I cut the papers in pieces, crunched them a little to give them a little more texture and stapled them together and decorated with some chipboard and dimensional stickers. Finished layout.

I hope you get a little inspired to play with colors by this little tutorial.
Hurry over to our
website and reserve your kits before they're all gone.
While you're on the website, we hope you'll take a few moments to soak up the amazing inspiration in our
design team gallery.
For more of my
tutorials go here
Here you can see
my first video making the same kind of background.


